Hello, my name’s Andrew, and this is a step-by-step guide on how to transition to zero-drop and barefoot shoes for walking, running, and casual.
Introduction
Back in 2017, I was dealing with a lot of injuries, so I decided to transition to a zero-drop shoe…except, I literally had no idea where to begin!
So I went to YouTube and started watching a bunch of tutorials.
But I just ended up more confused, because there were all these different training plans and stretches and workout routines….
I remember thinking, like: “Oh my god. There has to be an easier way.”
bought a pair of Altra Torin’s and started teaching myself how to run forefoot.
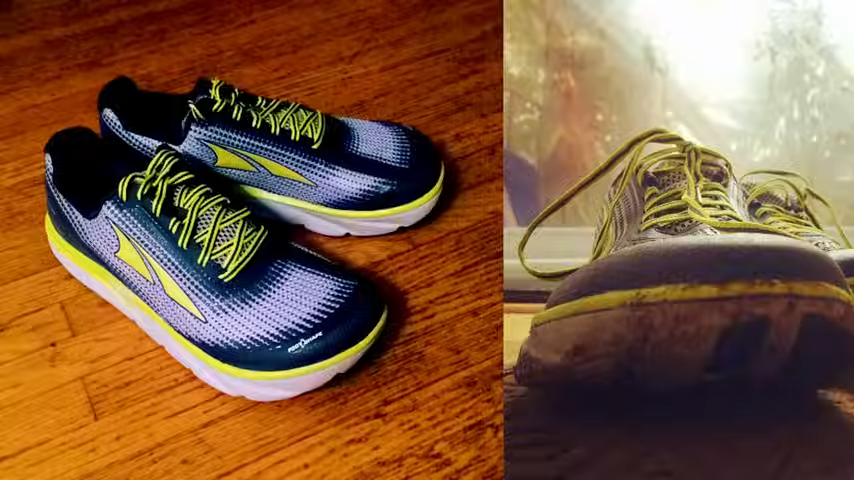
Three years later, I’ve now been running in 3mm barefoot shoes for over 3,000 miles with zero injuries, but I made a ton of mistakes and wasted a lot of money along the way.
Overview
So basically this video is the guide I wish I had back in 2017, because I’m going to make things super simple, so you can transition to zero-drop, zero-injury running in three months.
Before we dive in, though, let me give you a little preview of what we’re going to cover….
1. Why Zero-Drop
Somewhere around 2008, there was this guy in Utah named Golden Harper, who was experimenting with shaving off the extra cushioning in the backs of running shoes to make them totally flat.
He called it “zero-drop,” and eventually the idea got so popular that he went on to become the founder of Altra, which is now one of the biggest shoe brands in the world.
Born to Run
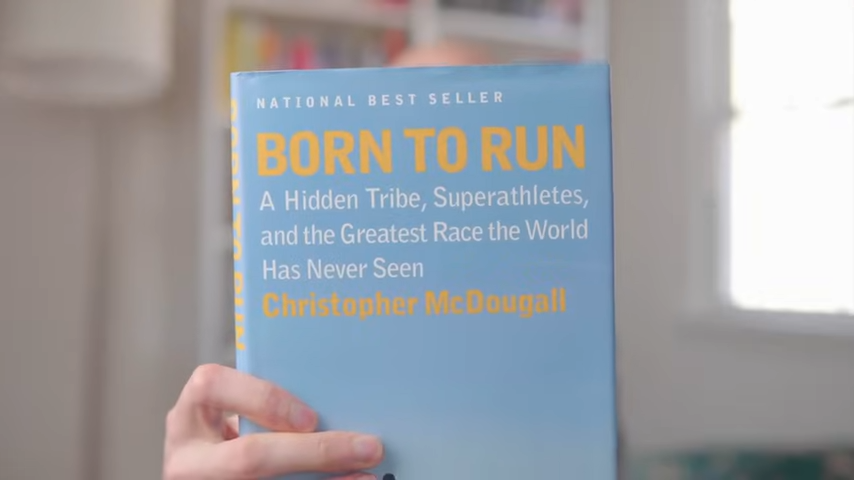
Around the same time, Christopher McDougall came out with the book Born to Run, which talked about barefoot and minimalist running, so there was this huge movement towards zero-drop footwear.
I mean…you can see why, because the human foot is flat.
So you would think that flat shoes would be a no-brainer.
Vibram Lawsuit
But the plot thickens because in 2012, this woman named Valerie Bezdeck sued Vibram for making unproven claims about the health benefits of their FiveFingers toe shoes–and the zero-drop, minimalist, barefoot debate has been raging ever since.
So…ughhh…what do we make of this?
And how do you know if YOU should make the drop?
2. Who Should Zero-Drop?
After working at a run specialty store for three years and fitting thousands of customers, I started to get a sense for when someone was about to transition to zero-drop.
They’d just have these chronic issues, you know, that didn’t get better, no matter how many brands or how many shoes they tried.
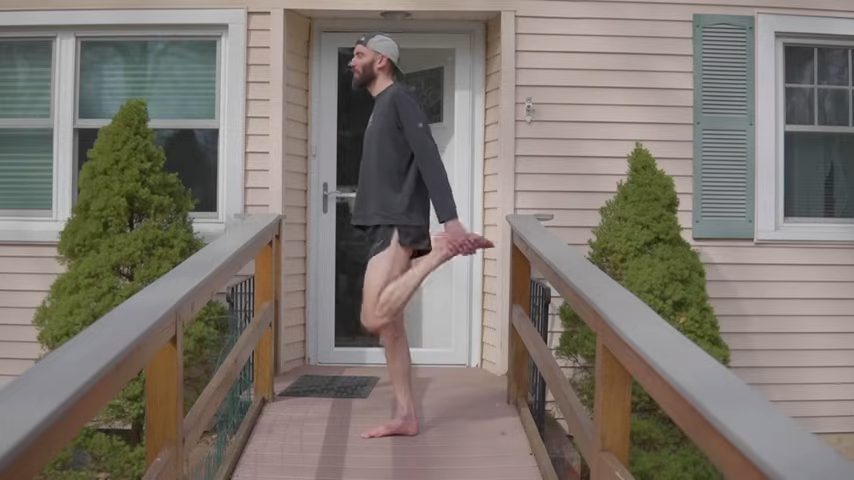
Whether it was shin splints or hip pain or a stiff back or tight muscles or all of the above, the bottom line was that…
Running just didn’t feel FUN anymore.
If you can relate, then it’s probably worth trying a zero-drop shoe.
Take it Slow
But before you dive in, I just want to make it clear that changing your stride and the shoes you run in will take time and discipline…
So please don’t go out and try to transition to forefoot running in a zero-drop right before your first marathon. Give yourself at least three months to just chill and get back the basics.
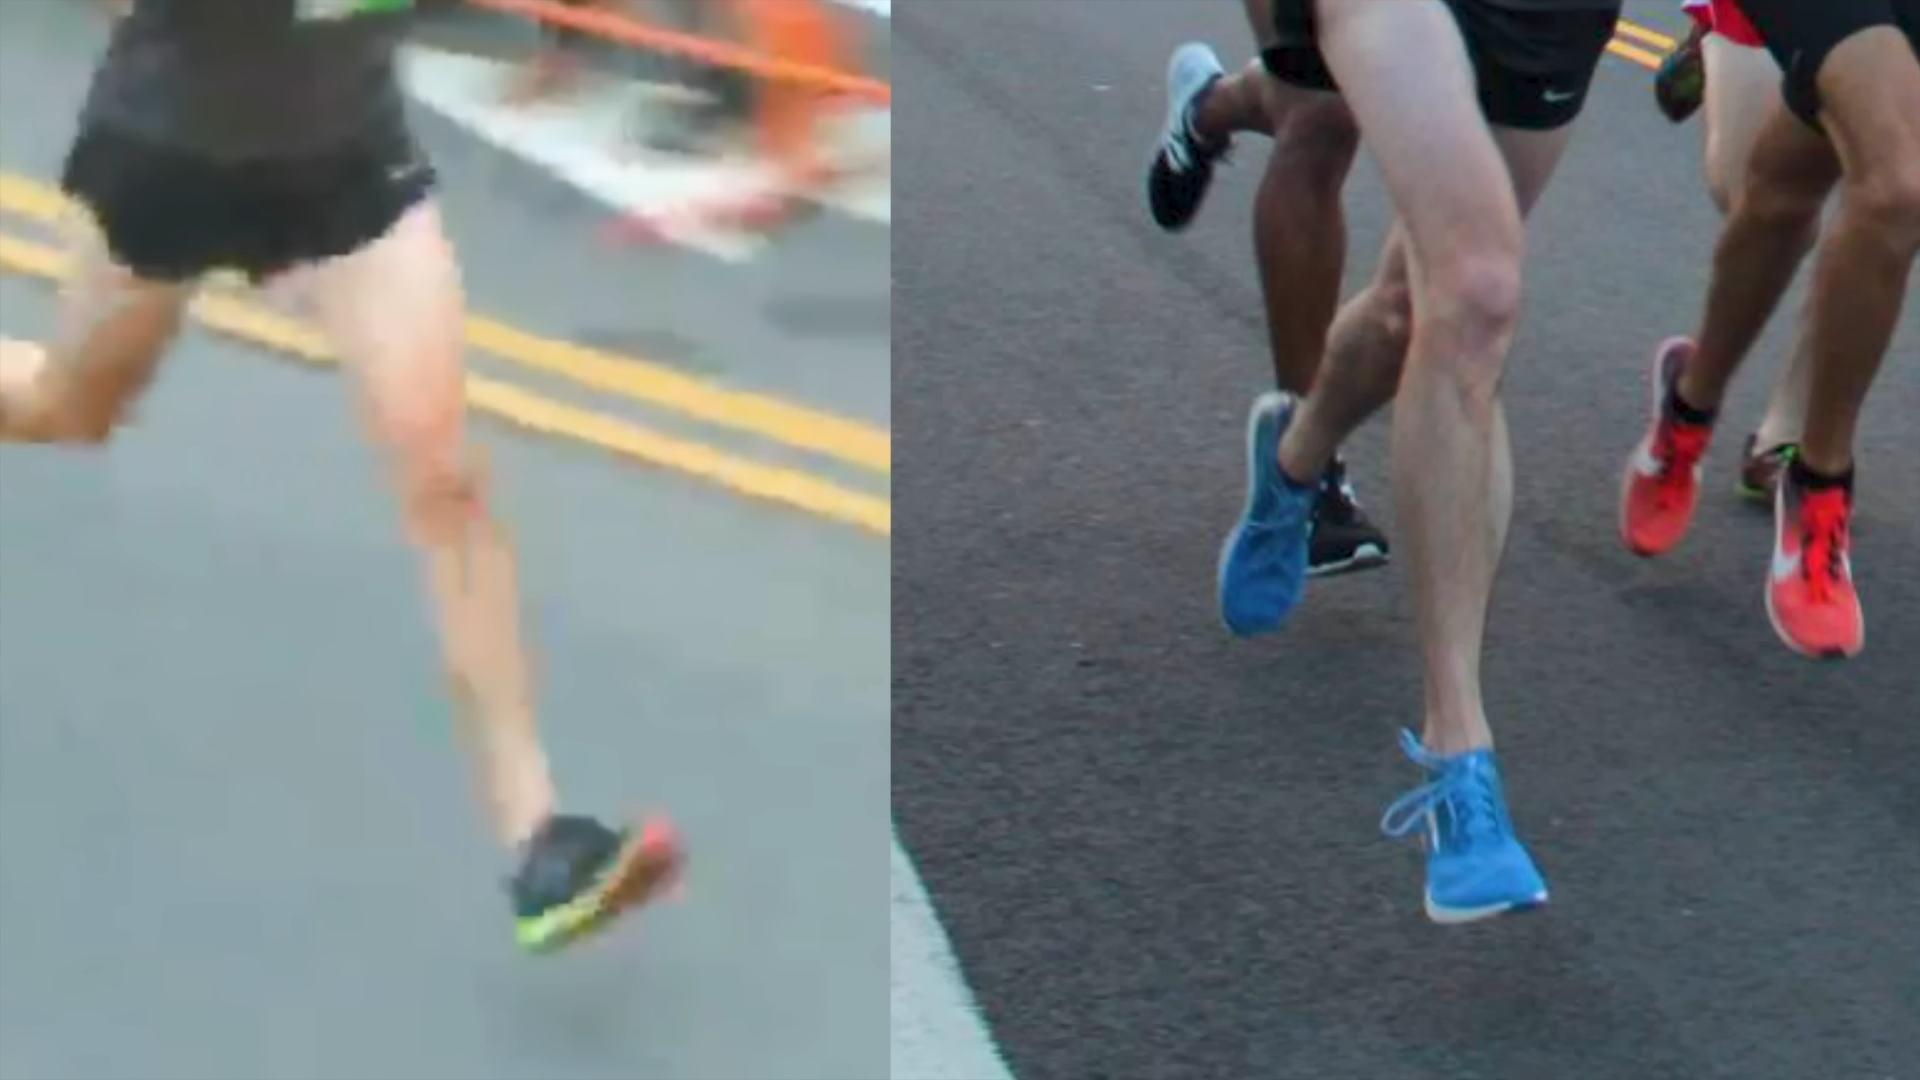
Ok, so let’s say you’re ready to make the switch…what are the best zero-drop shoes to put on your feet?
3. Best Zero-Drop Shoes
A lot of people use the terms “zero-drop,” “minimalist,” and “barefoot” interchangeably, but they’re actually three different categories of shoes.
There’s no perfect shoe for everyone, but in general, what you want to aim for is something with 0mm of drop, a wide toebox, lots of flexibility, and as light as possible.
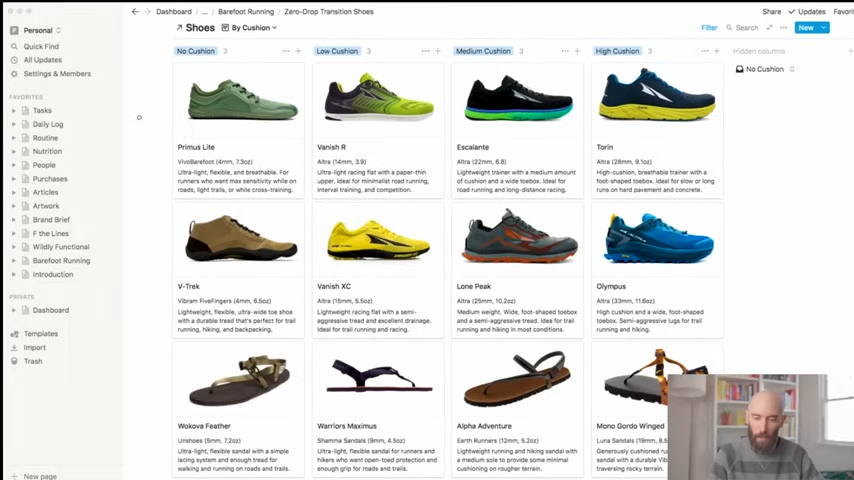
I’ve also created a table in Notion with some basic shoe recommendations for each category, and I’ll take you through it quickly, but I’ve also linked to it down below.
Running completely barefoot is a great way to improve your stride, but unfortunately, a lot of us live in urban areas with rusty nails and broken glass, so it’s not always practical.
Road Shoes
Therefore, the shoe I would recommend for almost everyone is the VivoBarefoot Primus Lite. Basically, it’s just a thin piece of ultra-flexible, ultra-durable rubber. And the idea is to reset you back to that barefoot feeling you had as a kid, but with just enough protection for whatever sharp objects you might step on.
Side note, VivoBarefoot recently changed the Primus Lite from 3mm to 4mm, which is a bummer, but not a big deal. Another option would be to buy some 3mm leather and make a DIY huarache sandal, which I might make a video about this summer.
Trail Shoes
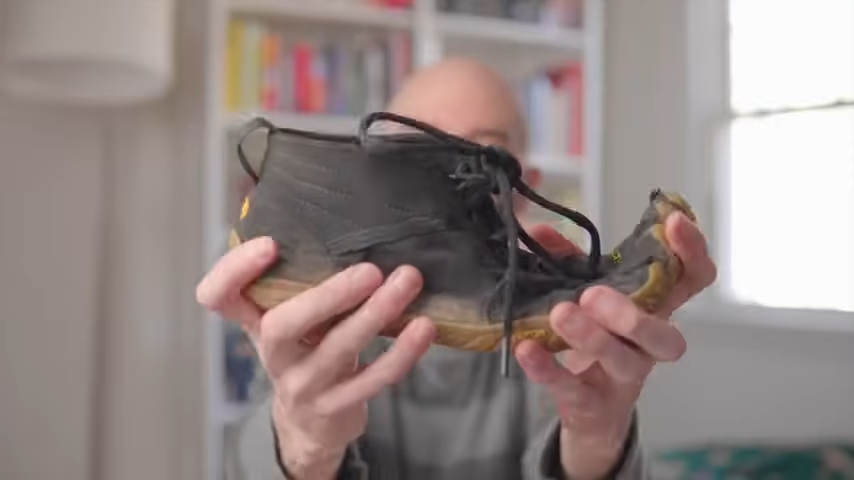
Moving on, The Vibram FiveFingers V-Trek is a great option if you have wider feet or you’re running trails — and a 5mm sandal like the Wokova Feather is a good choice if you want a completely open toebox.
Lightweight Cushion
If you like the idea of a lightweight cushion shoe, then the Vanish R, the Vanish XC, and the Shamma Maxiumus sandal are all racing-flat-style options with a really minimal amount of padding.
Medium Cushion
Next up are the medium-cushion shoes. The Escalante, the Lone Peak, and the Alpha Adventure sandal. All of these have a good balance between cushion and responsiveness.
Thick Cushion
Finally, we have the mac daddies of zero-drop shoes. The Torin, the Olympus, and the Mono Gordo sandal are all super-high cushion, and they’re going to give you that full “running on a cloud” feeling.
Barefoot vs Cushion
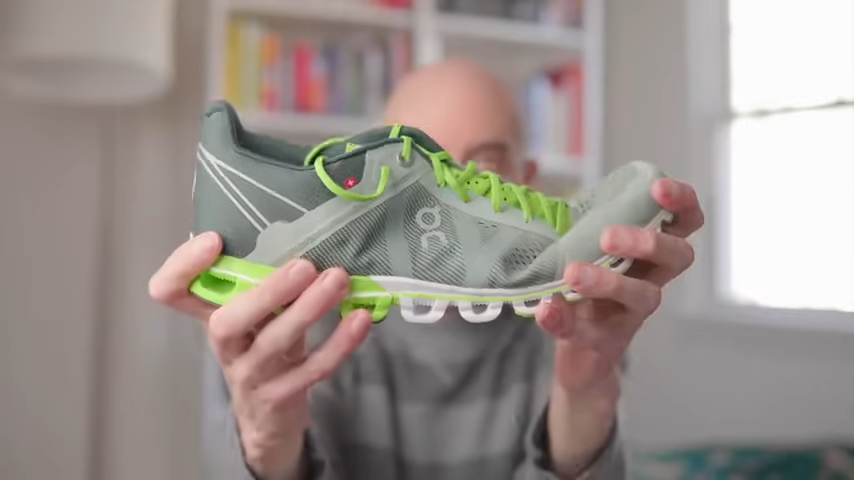
Just keep in mind that the more cushion you have under your foot, the more unstable that shoe is going to become when the foam breaks down.
Especially with high-cushion shoes, it can start to feel like running through a swamp because your feet are literally sinking into the midsole, and that extra strain is one of the biggest reasons why runners get plantar fasciitis.
So we’ve covered the different types of zero-drop shoes, now, let’s get to the juicy part. How do you actually make the transition?
4. Zero-Drop Transition
The number one reason people fail to transition to zero-drop is that they go out and try to do too much, too fast, so I’m going to break it down into four simple steps: Preparation, Form, Routine, and Prevention.
If you follow these steps, they will take you from high-drop to zero-drop, zero-injuries in three months.
Step 1: Preparation
There are two schools of thought when it comes to safely transitioning to zero-drop shoes.
Option one is that you keep doing what you’re doing, but gradually buy lower and lower-drop shoes — from twelve millimeters all the way down to zero.
This is what I did, and I wouldn’t recommend it because it can take a long time and cost you a lot of money to work through two, three, four pairs of shoes.
Option two is to completely reset your body by going straight to zero-drop, but keeping your milage low in the beginning to protect yourself from injuries.
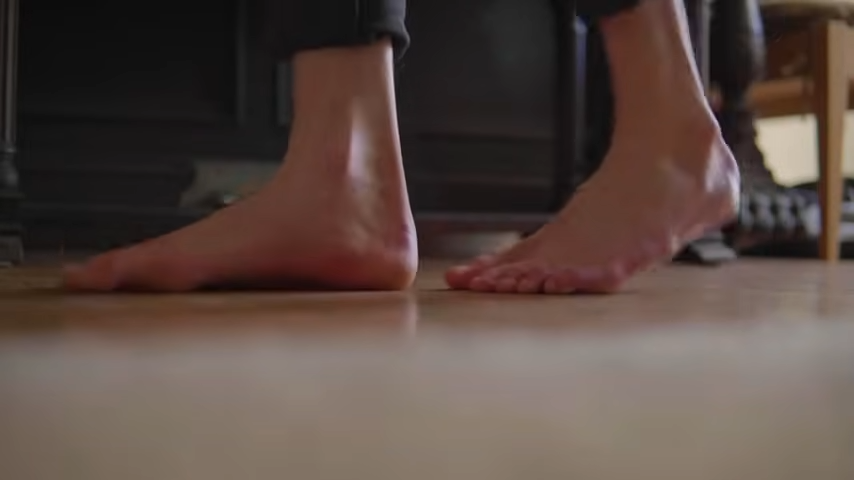
A good test for whether you’re ready to start running zero-drop is if you can spend a whole day walking around at home like you normally would, but without any shoes, sandals, or inserts.
Step 2: Form
To start running zero-drop, you don’t need any special exercises or stretches or training plans — you just need one drill. I call it: “The Tightrope.”
There are three levels of The Tightrope: rolling, walking, and running.
I’m going to show you multiple angles for each level and slow down the footage, so you can see exactly what I’m talking about.
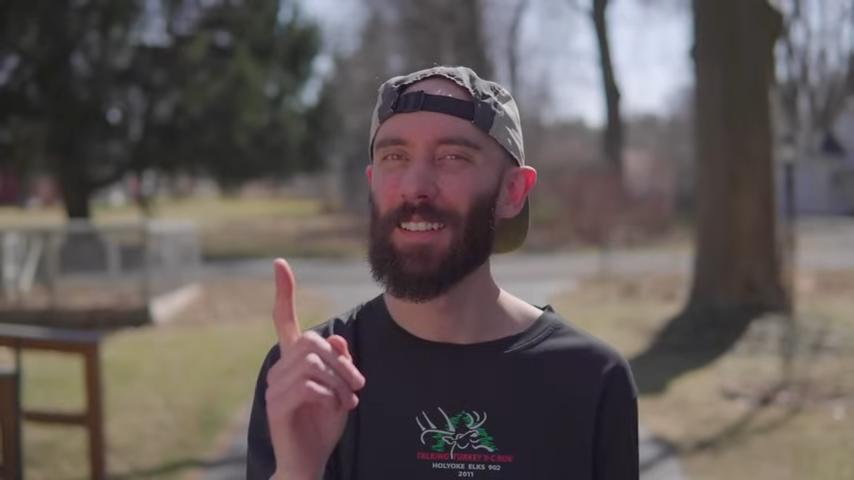
No matter what kind of shoes you end up wearing (or not wearing), the best way to learn zero-drop is by going barefoot, so you can see and feel how your foot is interacting with the ground.
Some great places to practice are local football fields or a smooth driveway, or in the wintertime, just your living room floor.
Ok, are you ready for level one? Let’s do it.
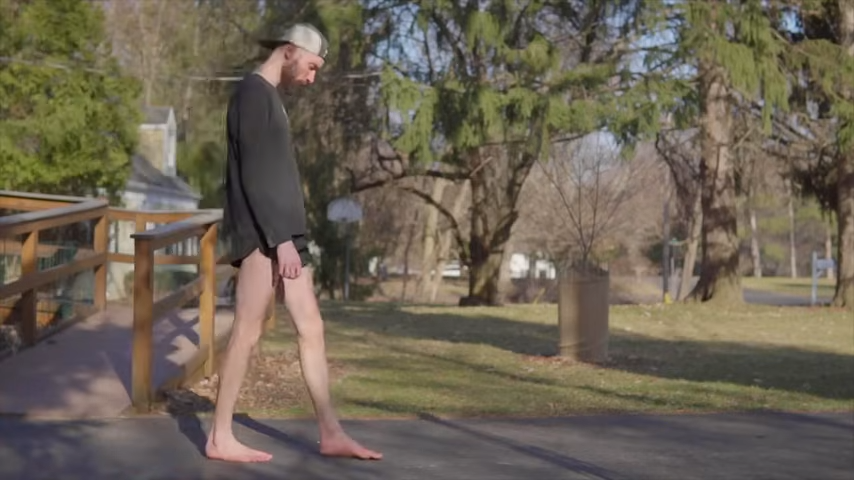
You’re going to start by walking, but instead of using a heel-to-toe stride, you’re going to use a forefoot strike.
As you bring your foot forward, tilt it outwards, so that the pad of your pinky toe touches down first.
Next, you’re going to smoothly roll your foot inwards, moving forward until all your bodyweight is centered over your heel.
Touch, roll, stop.
If you want to test your form, you can do the same walking drill while holding a cup of water filled almost to the brim. The idea is to keep your energy moving forward, like you’re gliding along a tightrope, rather than bobbing up and down.
If you can take ten steps without spilling, then you’re ready for the next level.
Walk: Next up, you’re going to take your forefoot roll and turn it into a forefoot walk.
Horizon: The trick here is to keep your eyes focused on one point, like a tree branch or a window, or even the horizon, and made sure that point stays level.
Speed: You also want to pay attention to your speed.
Accelerate: Rather than accellerating and decellerating, you should be moving at a the same speed throughout your stride.
Flow: Again, it’s the feeling of flowing forward, rather than bobbing up and down.
Note: Just a side note, you don’t have to forefoot strike all the time when you’re walking around day-to-day, but it’s an easy way to build up calf strength and work on your running form.
Water: Ok, now it’s time for water test number two. This one’s a little more difficult.
How: How’d you guys do? Feeling the water pressure? Nah, you’re fine! You go this!
Run: Alright, Level Three. You’re going to take everything you learned so far and roll it into a smooth forefoot running stride.
Stance: First off, you always want to keep your knees bent when running forefoot. This turns your whole body into a giant spring…
Heel: As opposed to heel striking, which is more like a jackhammer, sending shock straight up your knees, all the way to your hips and back.
Stride: Secondly, you want to shorten your stride and increase your cadence, because the farther your foot is from your body, the more your leg straightens out, and the harder it’s going to be to cushion yourself.
Height: Thirdly, as with any running stride, gravity is your enemy. So keep your heels low to the ground and drive your knees forward, rather than pushing upwards with your calf muscles.
Heels: A common mistake people make is not letting their heels touch the ground, and this puts a lot of strain on your calves. Ideally, your heel should gently come to rest on the pavement as you lift up your second foot.
Lava: As your final test, you’re going to use a cup of molten lava…haha, kidding. Please don’t do that.
Water: Let’s see if I can do this…”Wooh!”
Routine: So those are the basics of running forefoot. Now, let’s talk about a daily routine you can use to build strength over the next three months as you transition into a beautiful zero-drop butterfly.
Step Three: Routine
First: The first rule of zero-drop running is take it SLOW.
Milage: If you’re running thirty miles a week, you can’t just switch to a completely different shoe and stride and expect to keep doing the same milage.
Street: You want to know how far I went on my first barefoot run? To the end of the street and back. Like…two minutes.
Week: The first week, I probably did five miles — at most.
Workouts: Also, if you want to transition to zero-drop, and become a stronger and faster runner, you don’t need any special workouts or stretches or exercises or gym memberships.
Listen: You just need to get outside, start slow, and gradually increase your speed as your body warms up.
Stop: Your calf muscles are going to get sore, but you’ll know it’s time to turn around when your form starts to break down and you fall back to a heel strike.
Walk: Also, don’t be afraid to alternate walking and running. Transitioning to zero-drop is not a daily race, it’s a longterm investment in your health and happiness as a runner.
Prevention: So that’s going to be your simple routine for the next three months, now let’s talk about how you’re going to stay injury-free. Let’s go back inside…
Step Four: Prevention
Dangerous: Every day, I get comments from doctors and physical therapists and runners who are convinced that zero-dropminimalist, and barefoot shoes cause injuries.
Magic: But guess what? Injuries don’t just appear out of thin air.
Instant: It’s not like you’re perfectly healthy one second, and then POOF. Plantar fasciitis!
Guilty: Injuries develop over time when you ignore the warning signs your body is putting out. Like that time I tried to run a 400m barefoot…
Adrenaline: You’re going to have moments when the adrenaline gets going and you want to keep pushing, even though a voice in the back of your head is saying: “This is a bad idea…”
Checking: So being able to slow down and listen to that voice is a skill that’s going to make or break your transition — and your longterm health, as a runner.
Warmups: For more than fifteen years, I stretched and did warmup exercises and stuck with cushion shoes because that’s what I was “supposed” to do.
Supposed: But I never enjoyed doing any of those things, and when I stopped doing them, I stopped getting injured.
Moral: So the moral of the story is don’t let anyone tell you what’s good for your body — and that includes me.
Test: You can listen to what people have to say. You can cautiously try out their suggestions…
End: But if you don’t like how something feels, stop forcing yourself to do it!
Switch: Ok, one more point. I get a lot of comments from people who stopped halfway through their transition to zero-drop because they got knee pain or stress fractures or plantar fasciitis.
Mix: But the problem is a lot of them were switching back and forth between zero-drop and their old shoes.
Know: So how are you ever going to know which shoes worked and which ones didn’t?
Chill: My advice would be just chill for three months. Stick to zero-drop, work on your form, and when your calf muscles get tired, which they will, get lots of rest, and don’t be afraid to take a few days off, so your body can catch up.
Category: Also, don’t write off zero-drop in general just because a certain pair of shoes didn’t work for you. High-cushion, minimalist, and barefoot shoes each give you a completely different experience, even though they all fall under the category of “zero-drop.”
Tried: It took me six pairs of shoes to figure out that what works for me is just a 3mm piece of rubber. But if I had given up after my first try, I wouldn’t be here making this video.
Timeline: Alright, so you’ve got yourself a simple training plan, what’s the timeline? Like what milestones should you should be hitting and how long does it take to fully transition?
Zero-Drop Timeline
Different: Everyone’s going to take a different amount of time to retrain their bodies for zero-drop shoes, but we all start in the same place, which is practicing a smooth forefoot stride at the local track or just in your living room.
Out: After you’re comfortable with that, you can start slowly increasing your milage until you can run a good 2–3 miles without your calves tightening up.
Strength: Once I hit the three-month mark, I was really starting to enjoy zero-drop running, but it still took around a year to get my speed and strength all the way back to where they were in high-drop shoes.
Surpass: It might take you more time or less time, but the good news is that a forefoot strike carries a lot more power than a heel strike, and I was able to go from a 4:35 to 4:25 mile the first time I raced with zero-drop shoes. It was like WOAH!
Racing: The thing is, you want to be careful with setting absolute goals, because when you get fixated on a certain schedule or time or distance, you can end up damaging your body.
Prioritize: Ultimately, I decided to give up racing because there’s nothing I hate more than being injured — and after seeing so many customers burn out in their forties or fifties, I just wanted to maximize my chances of being able to keep running for the rest of my life.
Choice: No matter what kind of running you do, whether you take it easy or push yourself to the limit, just be clear about what you’re prioritizing — and what the longterm side-effects of those choices might be.
Where: Ok, so we’ve got one more thing to cover, which is: Where’s the best place to run zero-drop?
Where to Run Zero-Drop
Roads: People say roads are bad for you, and I agree, but not for the reason you might think.
Concrete: When I transitioned to forefoot running, I spent two years running in 3mm barefoot shoes on pavement and concrete, and I still do occasionally because hard surfaces can actually feel soft with a smooth forefoot stride.
Uniform: The bigger problem is that roads are flat and tilted to the right, so what happens is that, over time, and especially if you’re doing high milage, your body gets out of alignment and the lack of variation can lead to repetitive stress injuries.
Mitigate: You can protect against that by running toward the middle of the road whenever it’s safe and switching up your workouts so you’re not using the same speed and stride over and over.
Trails: But, even then, roads are still tough on your body.
Variation: Think of it this way. Roads are like Cheerios. They’re cheap and convenient, but they don’t have a ton of nutrition.
Granola: Trails are like granola — they give you a balanced diet of twists and turns and hills and soft and hard surfaces, and branches to jump over, so you’re involving your whole body, not just specific muscles groups.
Field: If you don’t have any trails near you, a good compromise might be a local football field. But if you end up running around the track, just remember to alternate clockwise and counterclockwise, so you don’t keep turning in the same direction…like Derek Zoolander.
Treadmill: Finally, we come to the treadmill. Or, as it is more commonly referred to: the “dreadmill.”
Habits: The thing about running on a treadmill is that it teaches you bad habits. Your muscles atrophy, and although you might feel like Roger Banister with the speed turned up to fifteen, you’re going to be in for a rude awakening when you return to solid ground.
Conclusion
Guide: So…that’s my guide for transitioning to zero-drop, minimalist, and barefoot running.
Takeaways: I hope you got some good tips along the way, but if you take away nothing else, just remember these three things…
Slow: Take it slow. Zero-drop running is not a race, it’s a longterm investment.
Listen: Listen to your body. Don’t let adrenaline hijack your decision-making.
Fun: Have fun. If you don’t like something, stop forcing yourself to do it — and go do the things that actually make you happy.
Enjoyed: If this video was helpful to you, give it thumbs up. Or, if you’re part of the evil high-drop empire, thumbs down. If you have a question about the forefoot running transition, zero-drop it down in the comments below. Heh…see what I did there.
Live: Remember: take it slow, listen to your body, have fun. Run long and prosper. Peace!
Andrew Folts
Andrew is a writer/filmmaker who creates video guides and reviews for a community of 30K+ creative rebels on YouTube.